Throughout the past year of planning our wedding, Brendan
and I have taken on many new DIY skills. He is the master of spray paint, and
has helped me with a few projects that required carpentry knowledge (Not that I
can’t use a saw! It’s just the area he is best at helping me in). Our dining
room is now, for all intents and purposes, a craft room, strewn with lace,
burlap, test tubes, and acrylic paint. There are many different projects we’ve
taken on that I love – and some that didn’t work out so well. I promise to
share more with you – but for today, let’s start with my favorite project thus
far: I made my own garter.
Now, I know it’s kind of a strange thing to have as a
favorite project. This is particularly true because we aren’t having a garter
toss – so no one will even see the garter (except Brendan, and probably the
photographer). I even debated whether I even wanted one – it is, after all, a
totally useless piece of clothing, unless you are using them to actually hold
up stockings. But then I saw these:
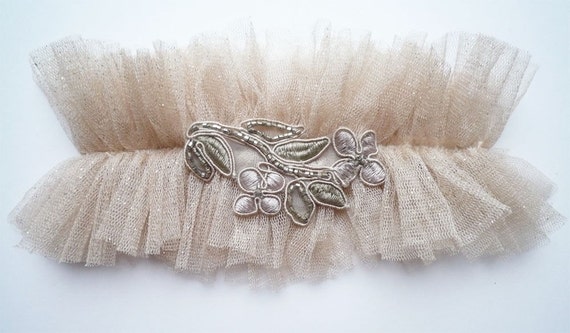
From Etsy seller florriemitton
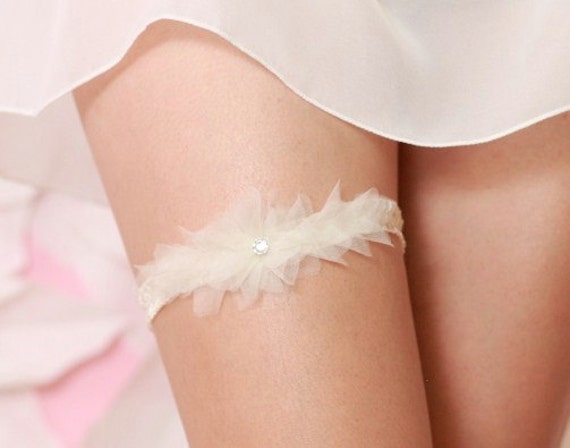
From Etsy seller TheLittleWhiteDress
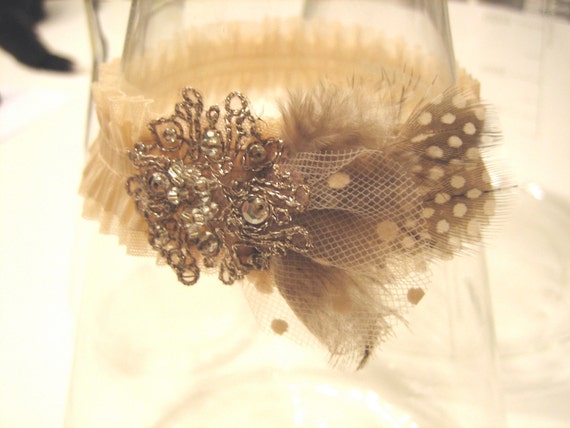
From Etsy seller Glowlightly
And I admit, I had an episode of girly glee. Something about
wedding planning has made me all excited about glitter and soft, romantic
things, and these definitely hit the mark in that respect.
One look at the price tags of most of these garters made me
want to cry – I know they’re pretty, but $80 for a scrunchy piece of fabric
that you will probably never wear again? I couldn’t do it – I simply couldn’t!
Enter: the DIY project! A quick glance through various
tutorials on the internet made me realize that they aren’t actually that
difficult to do. Of course, basic sewing skills are required – but knowing that
there would be some projects in the coming months that would require me to sew,
I had asked for a sewing machine for Christmas and had actually used it for a
few other projects in the meantime. My skills are REALLY on the beginner level,
but luckily that’s all that’s needed for this project!
Following this tutorial to a tee, I went from 3 yards each
of ivory and gold sparkle tulle, some elastic, lace, and a brooch to a garter
in less than 3 hours! Here is my inspiration shot:

Picture from tutorial on Johnna Lynn Johnson Blog
I didn’t take a completely “before” picture since it was
just a pile of fabric, but here’s an in-progress shot:

Notice how many pins are required - two for each and every fold of the tulle. This takes a
lot of patience, folks! I chose to make my garter a mix of ivory and gold tulle (ivory on the outside and gold on the inside) to give it a vintage look without making it too sparkly.
Finally, everything came together! I added a brooch that I
picked up at a flea market last summer – I think it’s a perfect accent to the
feathers. The finished product:

Overall, I think it was one of the more fun projects I’ve
done for the wedding – and the fact that I get to wear a beautiful garter
without spending a zillion dollars makes me so happy! I would say I spent about
$10 on fabric, then $5-10 more on the jewels, elastic, lace, and brooch – the
feathers I had lying around from another project. It may not be the best
quality – everything is subject to my poor sewing skills, unfortunately – but it
should hold up for the night, and I love it, so I’m a happy girl!

What was your favorite DIY?
No comments:
Post a Comment